

Glass Greenhouses: Ultimate Guide for Bulk Buyers
A glass greenhouse is still one of the most attractive products in the garden greenhouse category. It offers a premium…
A metal shed is a valuable asset in any home or garden. It provides a secure and sheltered space for a variety of uses, such as storing tools, vehicles, and equipment. However, it is essential to build the shed on a sturdy foundation to ensure its longevity and stability. Without a proper metal shed foundation, your structure may shift, settle unevenly, or suffer from moisture damage over time. The following guide will walk you through everything you need to know about shed base preparation and how to establish a foundation for a metal shed that lasts for decades.
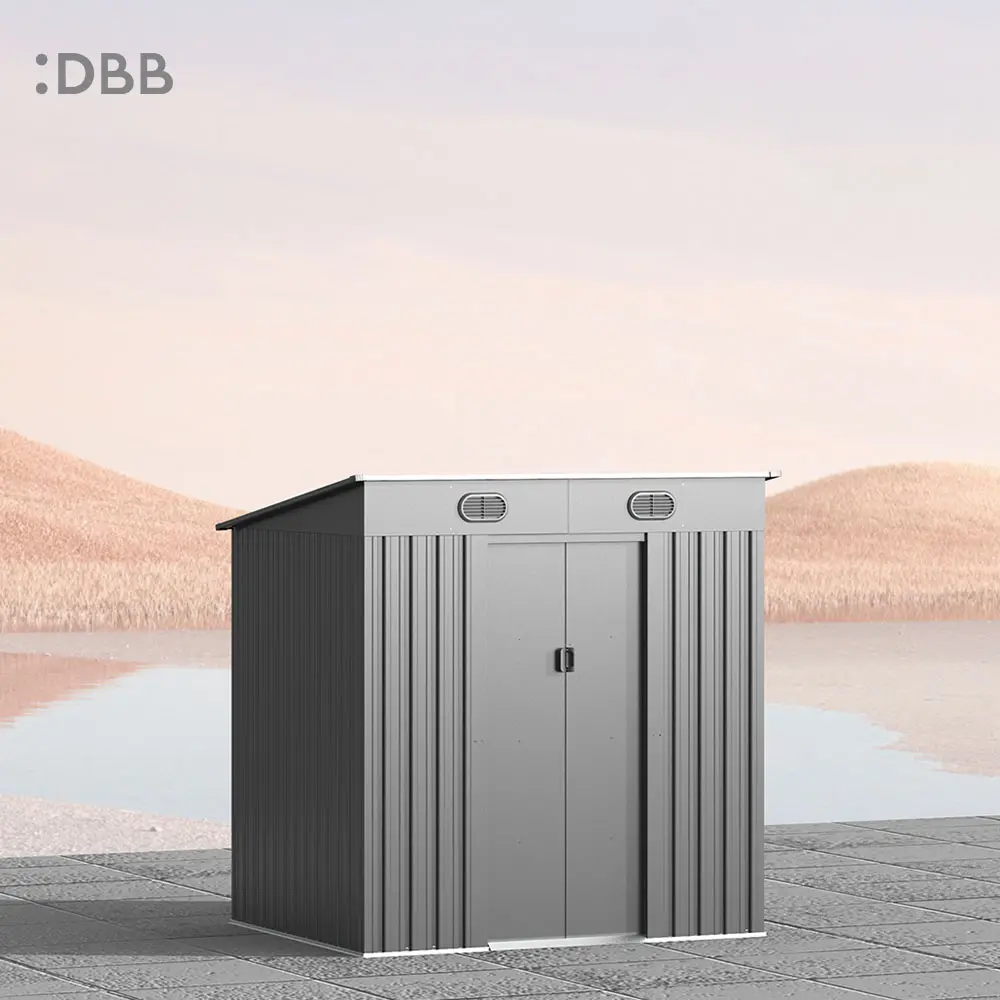
Many homeowners underestimate the importance of a concrete shed foundation. A metal shed installed directly on bare soil is vulnerable to rust, warping, and structural failure. Ground moisture can seep into the base, accelerating corrosion and shortening the lifespan of your investment. Additionally, an uneven surface causes doors and windows to misalign, making the shed difficult to use.
A well-built foundation elevates the shed above ground level, improves drainage, and creates a level surface for assembly. It also anchors the structure against strong winds and heavy loads. If you are comparing different storage options, our article on metal vs wood shed explains why metal structures benefit even more from a stable base.
Before you begin metal shed installation, decide which foundation type suits your soil conditions, climate, and budget. The most common options include:
For most residential metal sheds, a concrete slab or pier foundation offers the best balance of strength and longevity. If you are unsure which base is necessary, read our detailed guide: do metal sheds need a base.
Gather the following items before starting your how to build a shed foundation project:
Having all tools on site before you start prevents delays, especially when working with concrete, which must be poured and finished within a limited time window.
The first step in establishing a foundation for a metal shed is to determine the location. Choose a level and firm area that is away from trees, shrubs, and other structures that could cause damage to the shed. Tree roots can displace foundations over time, while overhanging branches may drop debris or cause damage during storms. Make sure that the shed is at least 6 feet away from any structures to avoid any potential conflicts and to meet fire safety codes.
Observe how water drains across your yard after heavy rain. Avoid low-lying areas where water pools, as standing moisture accelerates rust and undermines the metal shed foundation. If necessary, grade the surrounding landscape so water flows away from the shed site. Before digging, contact your local utility company to mark underground lines, and check whether your municipality requires a permit for shed installation.
Once you have chosen the location, clear the area of any debris, rocks, or vegetation. Remove the topsoil layer, which is loose and organic, down to firm subsoil. Use a rake or shovel to level the ground and remove any large rocks or roots that could interfere with the installation of the shed. For more preparation tips, see our guide on how the foundation should be treated when installing a metal shed.
Mark the perimeter of the foundation using wooden stakes and string line. The outline should be slightly larger than the shed footprint to allow for formwork and drainage. Double-check the diagonals to ensure the layout is square; equal diagonal measurements confirm that your corners are exactly 90 degrees.
Next, dig the foundation for the shed. The depth of the foundation should be at least 12 inches deep and should be wider than the shed itself. In regions with frost heave, excavate below the frost line—typically 24 to 36 inches in colder climates—to prevent winter ground movement from cracking the concrete. According to Concrete Network, proper excavation depth prevents frost heave and settling issues in colder climates.
After excavation, lay a 4-inch layer of compacted gravel or crushed stone at the bottom. This sub-base improves drainage, reduces soil moisture contact, and creates a stable bed for the concrete. Use a plate compactor or hand tamper to compact the gravel until it feels solid and does not shift underfoot. Proper shed base preparation at this stage determines the long-term performance of your foundation.
Once the foundation is dug, install the footings. The footings are the concrete pillars that support the shed. They should be installed at the corners of the shed and should be at least 6 inches deep. Use a level to ensure that the footings are level and plumb. If you are pouring a full slab, build wooden forms from 2×4 lumber around the perimeter. Secure the forms with stakes driven into the ground every 2 feet.
Place rebar rods or wire mesh inside the formwork to reinforce the concrete. Reinforcement distributes weight and prevents cracking as the ground shifts over time. Elevate the rebar slightly off the gravel using chairs or broken concrete pieces so it sits in the middle of the slab rather than touching the ground. This small detail significantly improves the tensile strength of your concrete shed foundation.
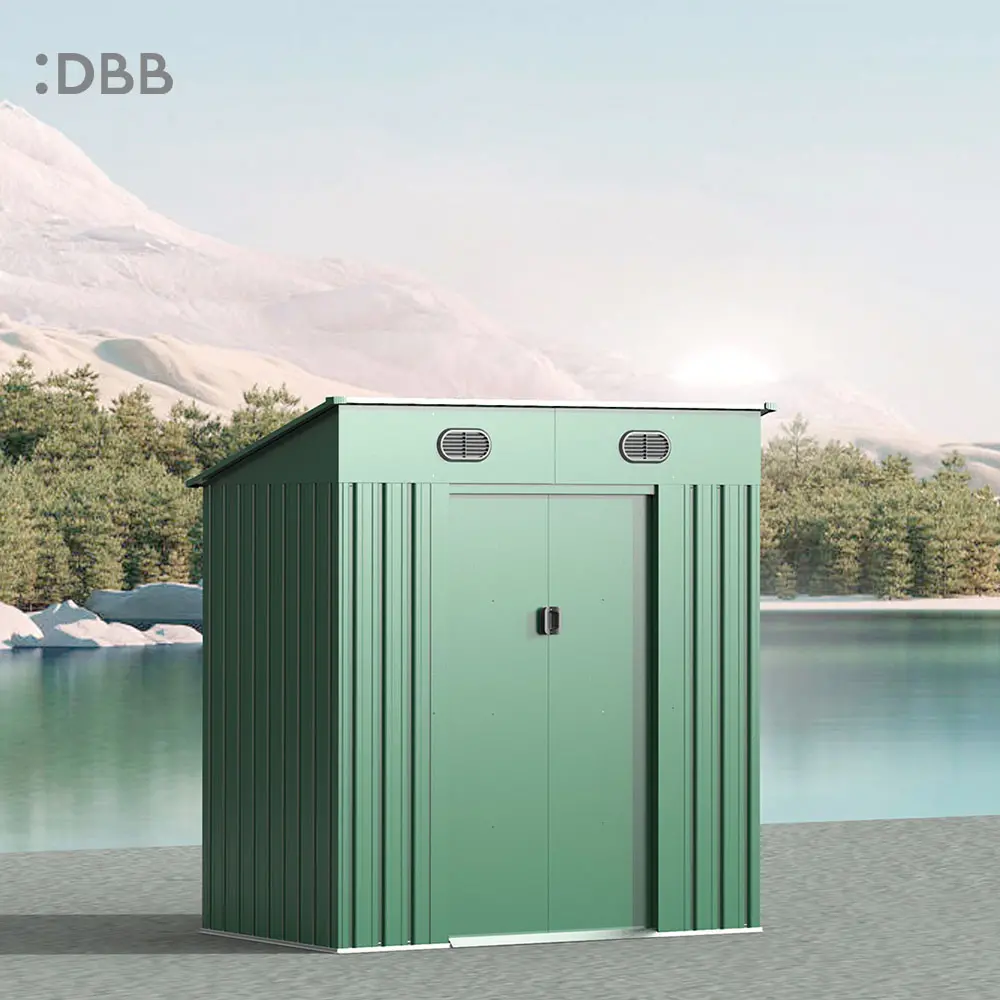
Once the footings are installed, pour the concrete into the foundation. Mix the concrete according to the manufacturer’s instructions, aiming for a consistency that holds its shape but flows easily into corners. Use a level to ensure that the concrete is level and plumb. Make sure that the concrete is poured to a depth of at least 6 inches above the ground level. The U.S. Occupational Safety and Health Administration (OSHA) recommends following proper concrete handling and curing procedures to achieve maximum compressive strength.
After pouring, use a screed board to level the surface by dragging it across the top of the forms. Then float the concrete with a magnesium float to smooth imperfections and bring cement paste to the surface. If you plan to anchor the shed directly to the slab, insert J-bolts or anchor brackets into the wet concrete before it sets. Position them according to your shed’s anchor points, typically at the base rails or corners.
Allow the concrete to cure for at least 48 to 72 hours before removing the forms. However, full curing takes 28 days to reach design strength. Avoid placing heavy loads on the slab during the first week, and keep the surface damp by covering it with plastic sheeting or spraying it lightly with water twice a day for the first three days. Slow curing produces stronger, more durable concrete.
Once the concrete has cured, install the shed on top of the foundation. Use a level to ensure that the shed is level and plumb. Make sure that the shed is secured to the foundation using bolts or screws. If your slab includes pre-installed J-bolts, align the shed’s base rails over the bolts and tighten washers and nuts securely. For pier foundations, use masonry anchors drilled into the concrete tops.
Check that all doors and windows open and close smoothly. If the metal shed installation is level, the panels will fit together correctly and the roof will drain properly. For detailed assembly instructions, refer to our article on constructing safe and sturdy metal sheds and expert tips for installing a metal outdoor storage shed.
Even experienced DIYers can make errors during how to build a shed foundation projects. Watch out for these pitfalls:
After completing your metal shed foundation and assembly, a few simple habits will extend the life of both the base and the shed: